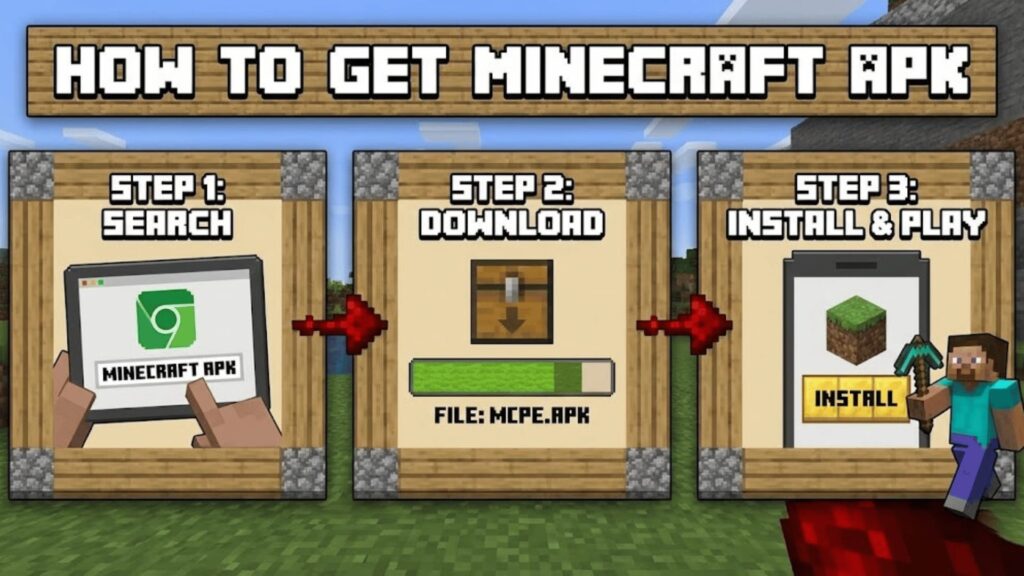
If you’ve never installed an APK file before, the process can seem a little intimidating. But once you know the steps, downloading and installing Minecraft on your Android device takes less than two minutes. Follow this beginner-friendly guide to get started with your Minecraft APK installation.
Step 1: Enable Unknown Sources
Go to Settings > Security (or Privacy on newer devices) and toggle on “Allow installation from unknown sources.” This permits your device to install apps outside the Google Play Store.
Step 2: Download the APK File
Visit a reputable APK website and download the latest version of Minecraft. Look for version numbers that match the current official release to ensure compatibility with multiplayer servers.
Step 3: Locate the File
Open your device’s Downloads folder using a file manager app. Tap on the Minecraft APK file to begin installation.
Step 4: Follow Installation Prompts
A pop-up will appear asking for permissions. Review them, then tap “Install.” The process typically takes 20–30 seconds.
Step 5: Launch and Play
Once installed, open Minecraft from your app drawer. You may need to sign in with a Microsoft account to access online features and cross-platform saves.
That’s it! You’re now ready to build, explore, and survive on your mobile device. Keep the APK file saved in case you ever need to reinstall without re-downloading.